
7-Day Juice Detox Guide: Refresh, Reset, Feel Better!
Simple daily juice plans — minimal prep, clean and healthy living.
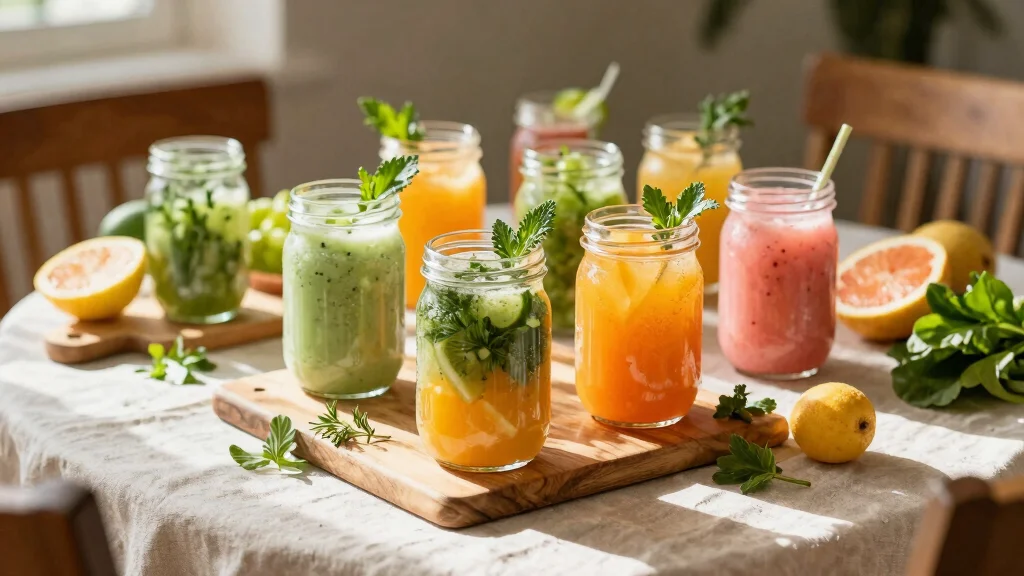
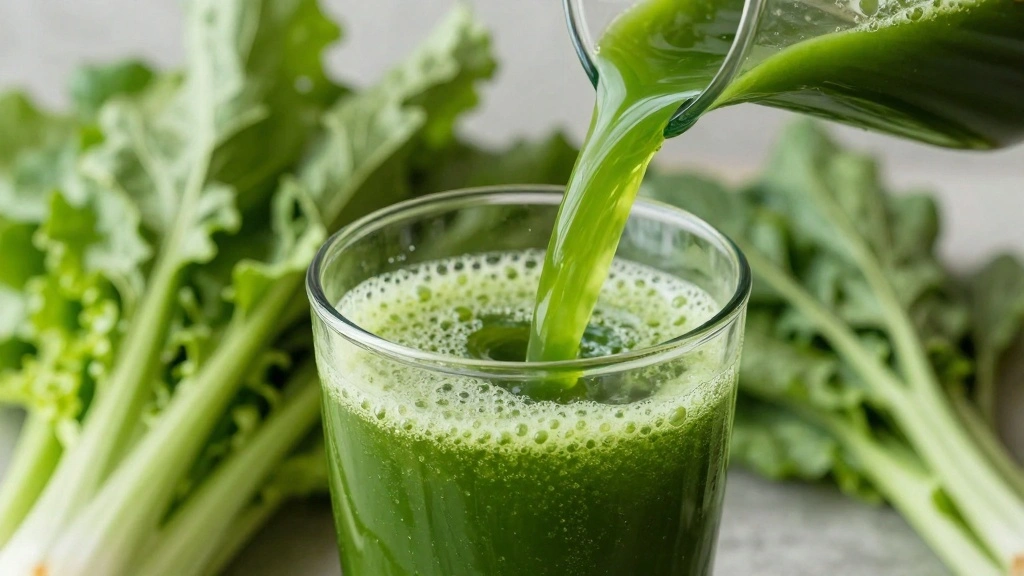
🛒 Grab yours for $3.90The 3-Day Juice Detox Cleanse is a refreshing way to reset your body and recharge your energy levels.
Bursting with vibrant flavors from fresh fruits and vegetables, it offers a delicious path to wellness.
I first embraced this detox during a hectic period in my life, and it provided a much-needed pause and replenishment.
Whether you’re looking to kickstart a healthy lifestyle or simply give your digestive system a break, this cleanse is gentle yet effective.
The natural sweetness of the juices makes the process enjoyable and sustainable.
Join me on this journey to rejuvenation with these easy-to-follow recipes.
The History and Cultural Significance
• 3-Day Juice Detox traces its origins to California in the 20th century, where it was originally created by health enthusiasts seeking natural healing methods.
• The cleanse evolved over decades as more diverse ingredients were incorporated, eventually becoming the beloved version we know today.
• In Western cultures, this cleanse traditionally appears at the start of the year, symbolizing renewal and health.
• While many variations exist across different regions, the authentic version maintains a focus on fresh, organic produce that sets it apart from imitations.


Recipe Overview
Nutritional Information (per serving)
Essential Equipment Guide
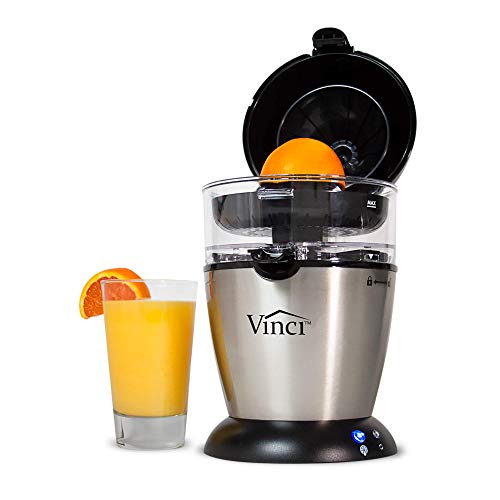
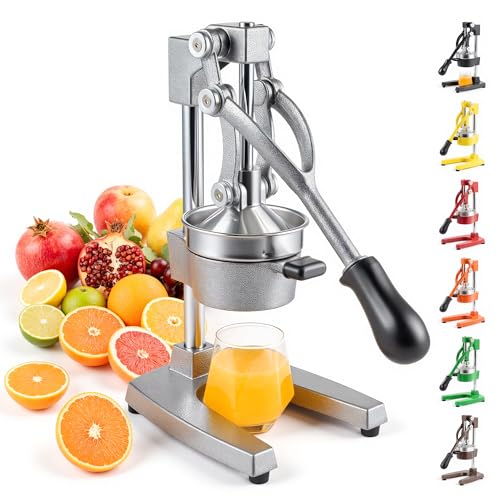
Juicer: A high-quality juicer is essential for extracting the maximum nutrients and flavors from your ingredients. While a blender can be used as an alternative, a juicer ensures a smoother texture and better nutrient retention.
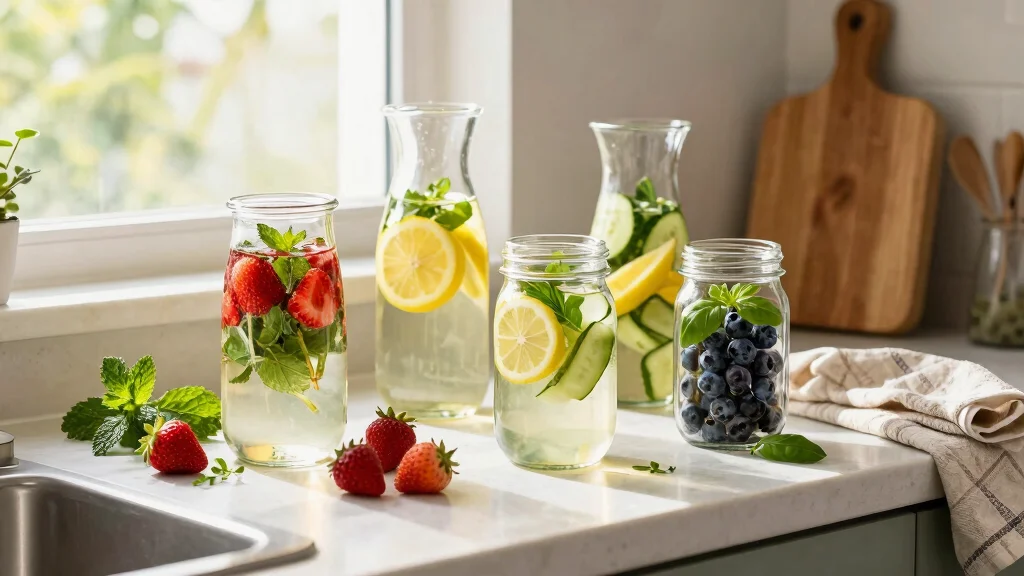
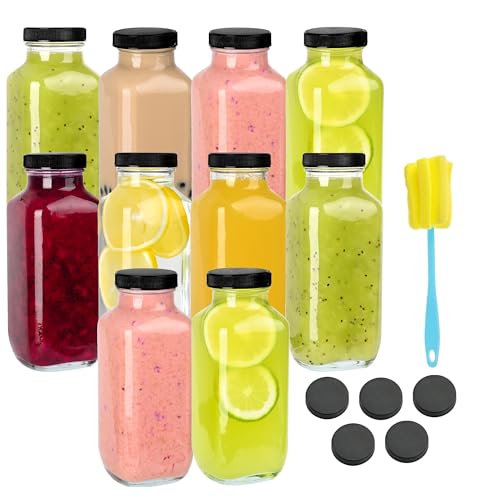
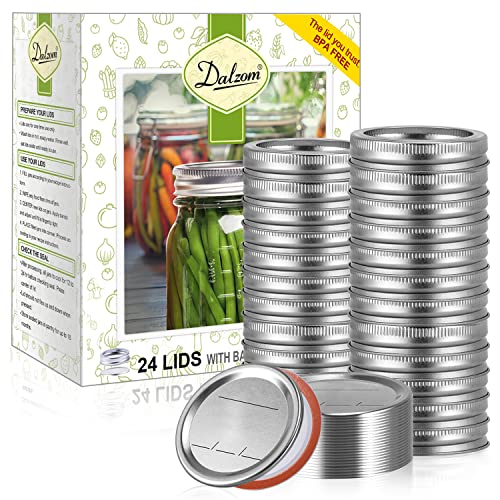
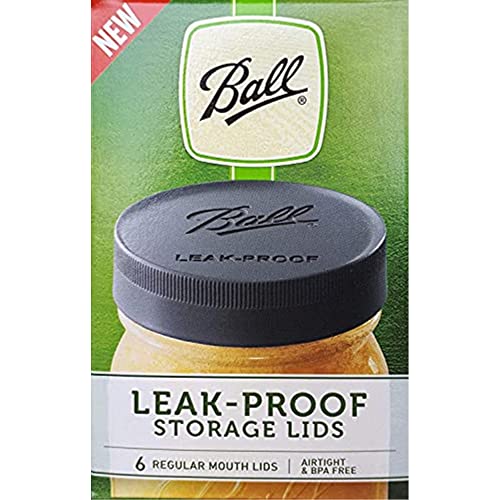
Mason Jars: Ideal for storing your juices, mason jars keep them fresh and easy to transport. Look for jars with airtight lids to prevent oxidation.
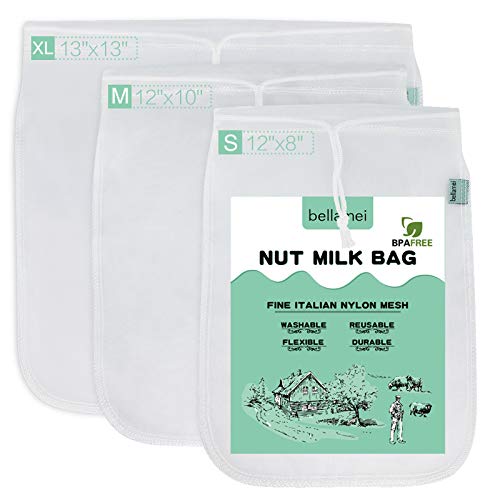
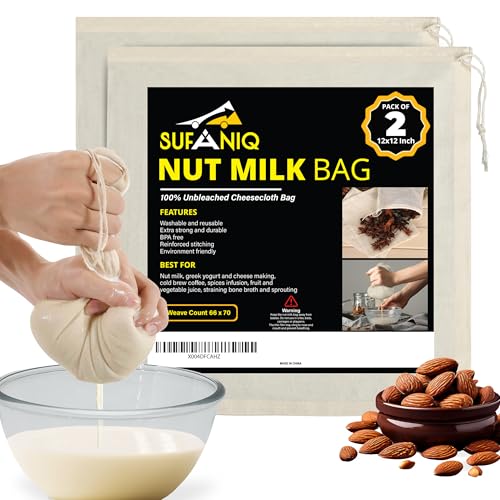
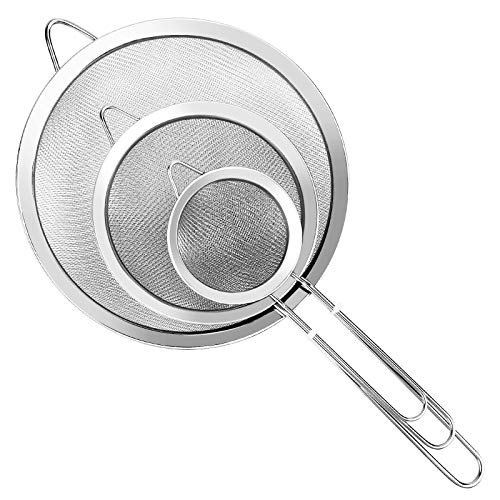
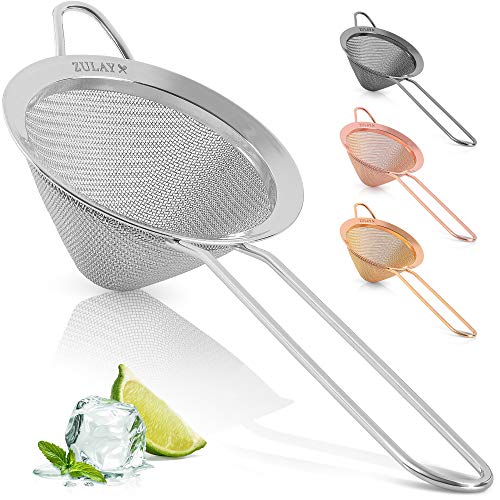
Strainer: To ensure a silky-smooth juice, a fine-mesh strainer helps remove any remaining pulp or seeds. It’s particularly useful if you’re using a blender instead of a juicer.


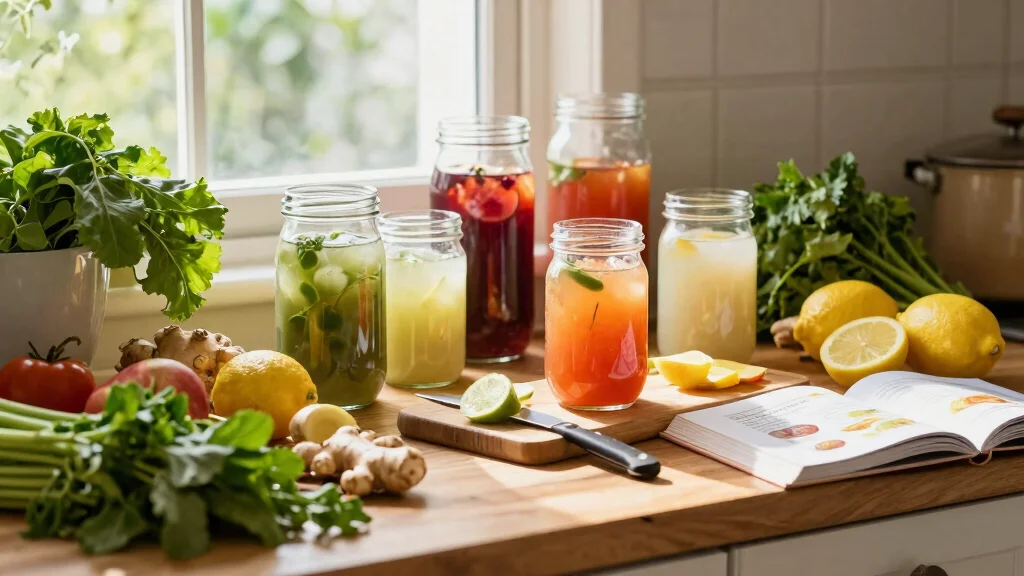
Ingredients
For the Base
|
| Amount | Ingredient | Notes |
|---|---|---|
| 6 large | carrots | peeled and chopped for sweetness |
| 4 medium | apples | cored and sliced for natural sugar |
Leafy Greens
| Amount | Ingredient | Notes |
|---|---|---|
| 2 cups | spinach | packed, for nutrient density |
| 1 bunch | kale | stems removed, for detox support |
Citrus Fruits
| Amount | Ingredient | Notes |
|---|---|---|
| 2 large | oranges | peeled, for vitamin C |
| 1 large | lemon | juiced, for tanginess |
Additional Flavor
| Amount | Ingredient | Notes |
|---|---|---|
| 1 inch | ginger root | peeled, for a spicy kick |
| 1 teaspoon | turmeric | ground, for anti-inflammatory benefits |
Preparation Methods
Cold Press Juicing: This technique uses a slow press to extract juice without generating heat, preserving nutrients. It's crucial for maintaining the integrity of vitamins and enzymes.
Layered Blending: When using a blender, layer your ingredients starting with the softest to ensure even blending. This prevents motor strain and ensures a uniform texture.
Pulp Straining: After blending, use a fine-mesh strainer to separate the juice from the pulp, ensuring a smooth, enjoyable drink. Press gently to extract every drop.
Step 1: Prepare Ingredients
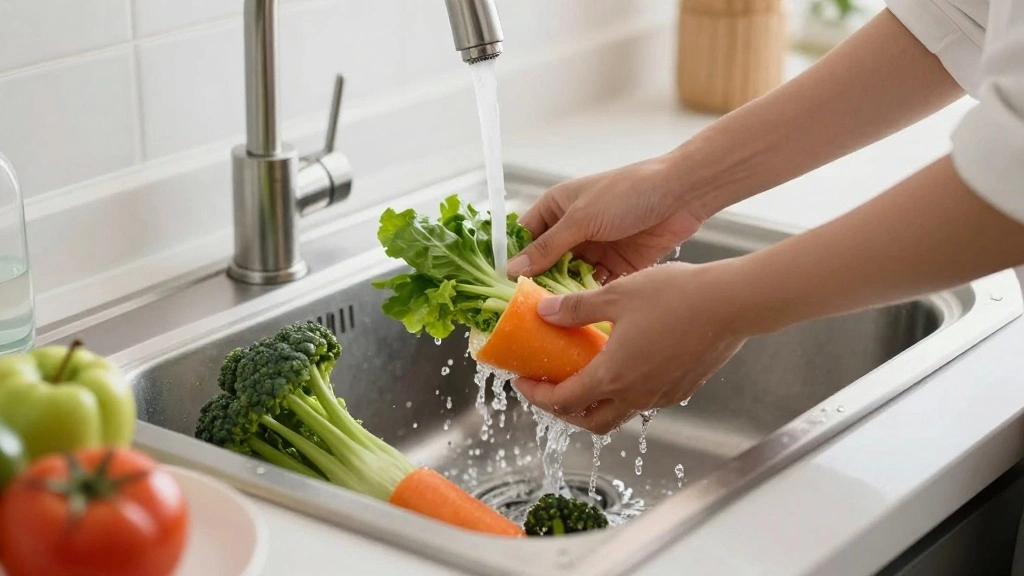
Wash all fruits and vegetables thoroughly.
Peel and chop the carrots and apples into manageable pieces.
Ensure all greens are free from dirt and debris.
Set ingredients aside for easy access during juicing.
Step 2: Set Up Juicer
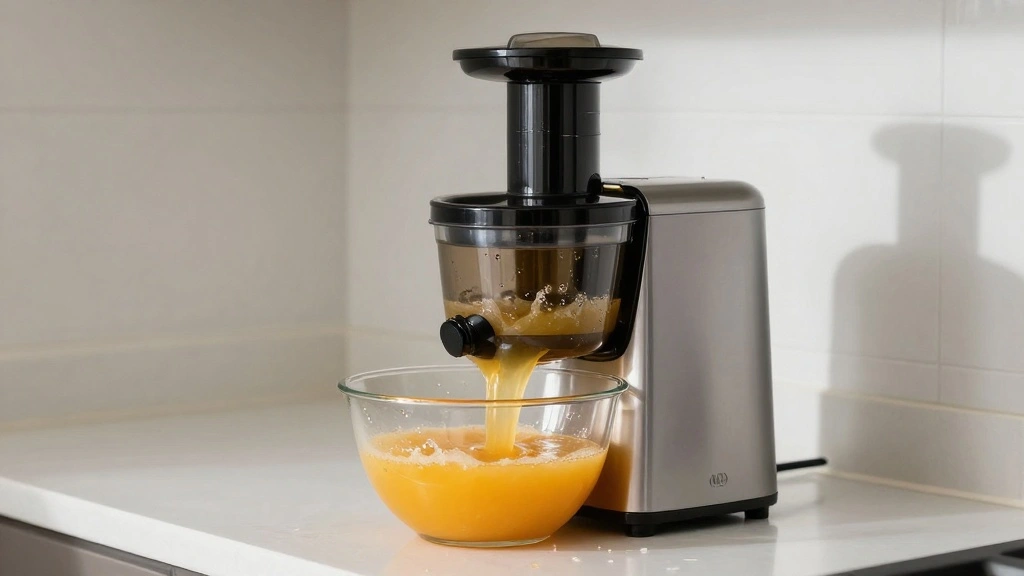
Assemble your juicer according to the manufacturer's instructions.
Ensure all parts are securely in place to prevent leaks.
Place a large bowl or container under the spout to catch the juice.
Turn on the juicer and let it run for a few seconds to warm up.


Step 3: Juice the Carrots and Apples
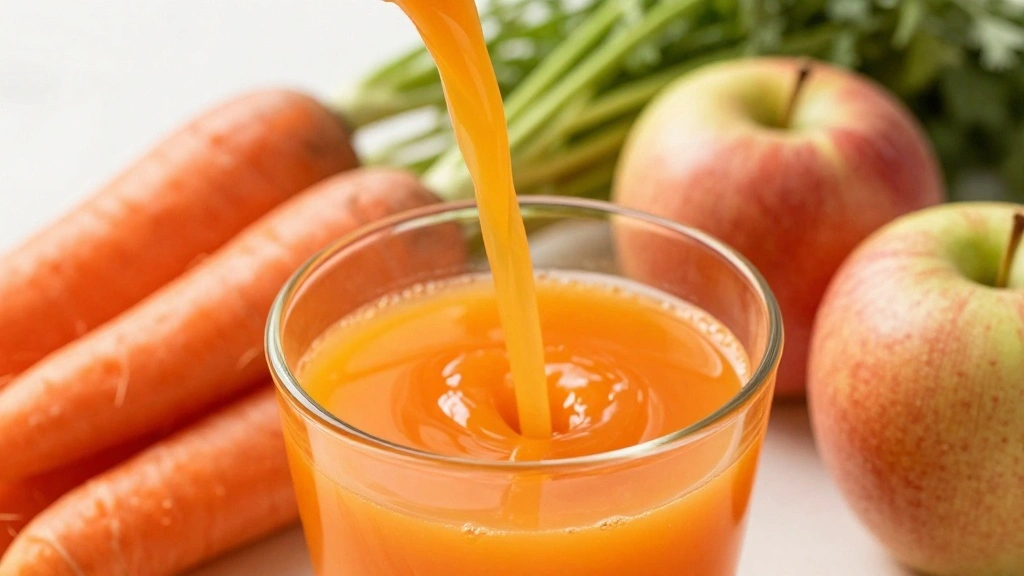
Feed the carrots into the juicer first, followed by the apples.
Use a steady pace to avoid overwhelming the machine.
Allow the juice to flow completely before adding more ingredients.
Collect the pressed juice and set aside.


Step 4: Add Leafy Greens
Add the spinach and kale to the juicer, pushing them gently.
Alternate with softer fruits to help extract more juice.
Ensure all greens are processed to maximize nutrient extraction.
Set the collected juice aside for the next step.


Step 5: Incorporate Citrus and Ginger

Juice the peeled oranges and lemon for a citrusy boost.
Add the ginger root for a spicy, warming flavor.
Ensure all citrus is fully processed to release maximum juice.
Mix the resulting juice with the previously collected batch.


Step 6: Strain the Juice
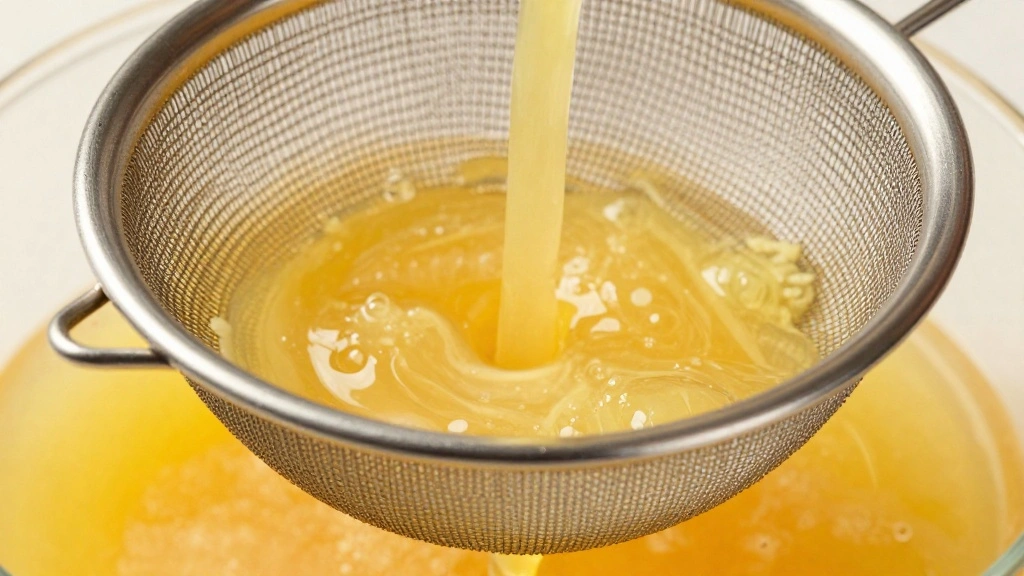
Pour the juice through a fine-mesh strainer into a large bowl.
Use a spoon to press down and extract all liquid from the pulp.
Ensure no pulp remains in the final juice for smoothness.
Transfer the strained juice into mason jars for storage.


![[ 8 Pack ] Glass Juicing Bottles with 2 Straws](https://m.media-amazon.com/images/I/41mM+yDUyqL._SL500_.jpg)

Step 7: Add Turmeric
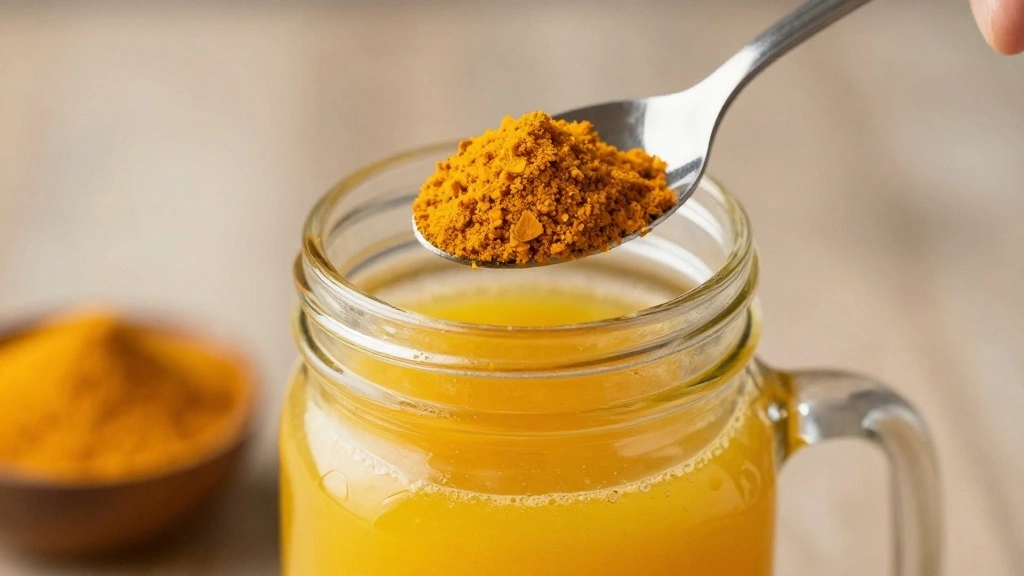
Add ground turmeric to the juice for added health benefits.
Stir thoroughly to ensure even distribution of the spice.
Check for any lumps and ensure they are dissolved.
Seal the mason jars and shake gently to mix.


![SEWANTA Wide Mouth Mason Jars 32 oz [4 Pack] With](https://m.media-amazon.com/images/I/4107pM2hYKL._SL500_.jpg)


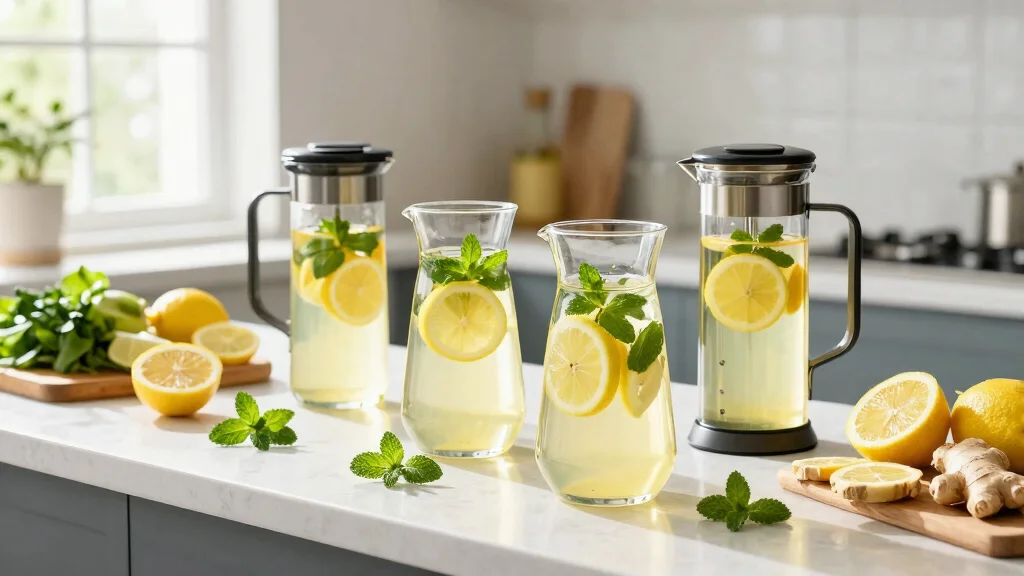
Step 8: Chill and Serve
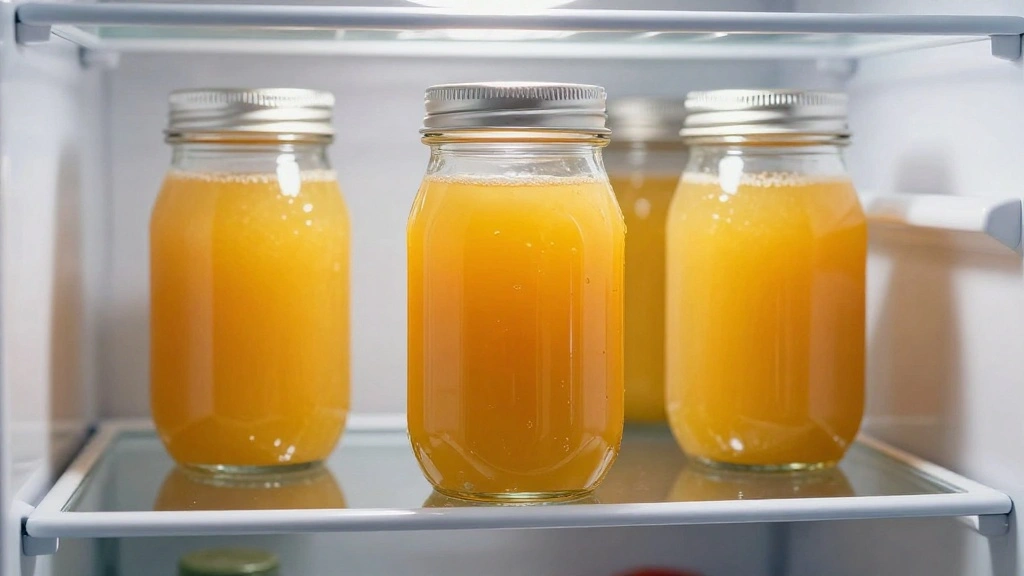
Place the sealed mason jars in the refrigerator to chill.
Allow at least one hour for the flavors to meld together.
Serve the juice cold for maximum refreshment.
Enjoy immediately or store for up to three days.


Critical Timing and Temperature Guide
Chilling Process: Allow juice to chill for at least one hour in the refrigerator. The cold temperature enhances the refreshing quality, but avoid freezing to prevent nutrient loss.
Juicing Speed: Maintain a steady, slow pace when feeding ingredients into the juicer. This prevents overheating and ensures maximum nutrient retention.
Storage Duration: Consume the juice within three days. Look for changes in color or smell as indicators of spoilage.


Pro Tips for 3-Day Juice Detox
• Ingredient Selection: Choose organic produce to minimize pesticide exposure, focusing on fresh, vibrant carrots and leafy greens for the best quality juice.
• Preparation Secret: Pre-chill your fruits and vegetables before juicing to maintain a cool juice temperature and enhance flavor.
• Temperature Management: Keep the ingredients and juice cold at all times to preserve enzymes and prevent spoilage.
• Texture Enhancement: Strain the juice twice for an ultra-smooth texture that is pleasant to drink.
• Flavor Layering: Balance sweet, tangy, and spicy elements by adjusting the ratio of apples, citrus, and ginger to suit your taste.
• Make-Ahead Strategies: Prepare all your ingredients in advance and store them in airtight containers to streamline the juicing process.
• Restaurant-Quality Finishing Touches: Garnish with a slice of citrus or a sprig of mint for a professional look.
• Equipment Optimization: Regularly clean your juicer to ensure optimal performance and prevent flavor transfer from previous batches.


Troubleshooting Common Issues
• Juice Separation: This occurs when the juice sits for too long without shaking. Always shake well before serving to re-emulsify.
• Bitter Flavor: Over-juicing the greens or using too much ginger can cause bitterness. Adjust by adding more sweet fruits like apples.
• Pulp in Juice: If pulp remains, strain the juice again to achieve the desired smoothness.
• Juicer Clogs: Feed ingredients slowly and alternate between soft and hard items to prevent clogs.
• Color Fading: Exposure to air can fade the juice's vibrant color. Store in airtight containers to maintain freshness.
• Overpowering Ginger: If ginger's spice is too strong, reduce the amount in future batches and balance with more citrus.
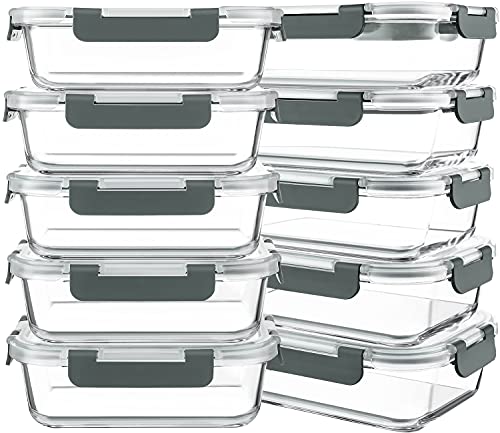
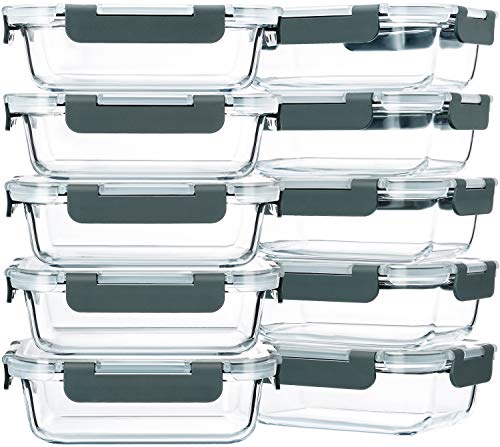


![C CREST [10 Pack] Glass Meal Prep Containers, Food Storage](https://m.media-amazon.com/images/I/51KtYzS-grL._SL500_.jpg)

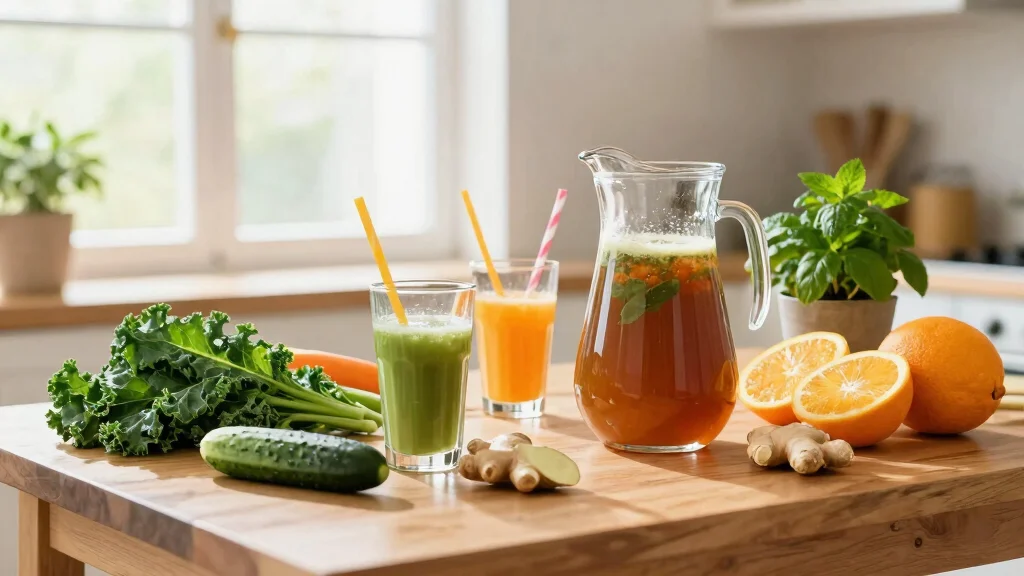
Variations and Regional Differences
• Tropical Style: Incorporates pineapple and coconut water for a tropical twist, providing a sweet and hydrating variation perfect for summer.
• Spicy Asian Twist: Adds a hint of chili and lemongrass for a unique Asian-inspired flavor profile, enhancing the detox properties with additional anti-inflammatory ingredients.
• Mediterranean Blend: Uses tomatoes, cucumbers, and basil for a savory juice option that echoes the fresh flavors of the Mediterranean diet.
• Berry Fusion: Combines mixed berries with lemon and mint for a refreshing antioxidant-rich version, ideal for a morning boost.
Food Science Behind the Recipe
• Enzyme Preservation: Cold-press juicing preserves the natural enzymes in fruits and vegetables, which aids digestion and boosts nutrient absorption.
• Nutrient Synergy: Combining different fruits and vegetables can enhance nutrient absorption, as certain vitamins and minerals work better together.
• pH Balance: The lemon juice helps balance the pH of the juice, making it more alkaline and less acidic, which is beneficial for digestion.


Frequently Asked Questions
What's the most common mistake people make when preparing a juice detox? One common mistake is not using fresh, organic produce, which can affect both taste and nutrient content.
Can I substitute ingredients if I have allergies? Yes, feel free to substitute ingredients with similar nutritional profiles, such as using pears instead of apples.
How can I make the juice sweeter without adding sugar? Increase the amount of apples or carrots, as they naturally sweeten the juice.
Is it necessary to strain the juice? Straining is recommended for a smoother texture but not mandatory if you prefer more fiber.
How long can I store the juice? Store the juice in the refrigerator for up to three days in airtight containers to maintain freshness.
Can I use a blender instead of a juicer? Yes, but be sure to strain the juice afterwards to remove the pulp for a smoother drink.
Should I drink the juice on an empty stomach? Drinking juice on an empty stomach can enhance nutrient absorption, but it's not necessary if it doesn't suit your digestive comfort.
How often can I do a juice detox? A 3-day detox can be done monthly, but listen to your body and consult a health professional if unsure.
Serving and Presentation Guide
• Traditional Presentation: Serve the juice in chilled glass jars with a slice of citrus on the rim.
• Garnished Style: Add a sprig of mint or basil for a refreshing finish and visual appeal.
• Layered Look: Pour over ice cubes made from the same juice for a layered, artistic presentation.
• Party Platter: Serve alongside a platter of fresh fruits and nuts for a complete detox experience.


Conclusion

Embarking on a 3-Day Juice Detox Cleanse is a delightful way to nurture your body and mind.
With its vibrant flavors and health benefits, this cleanse offers a refreshing reset.
I hope these recipes inspire you to embrace the journey towards wellness.
Raise your glass to health and vitality!